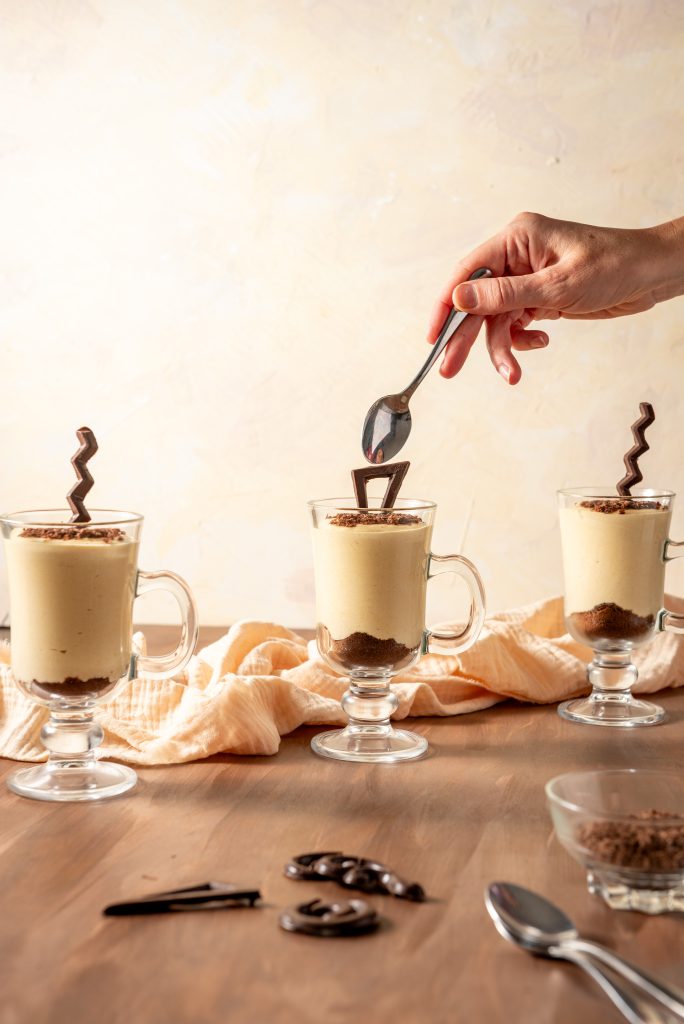
We are calling all dessert lovers with a penchant for the exotic! If you’ve never experienced the unique flavour of lucuma, a golden Peruvian fruit with a taste reminiscent of maple and butterscotch, then this recipe is your gateway to creamy indulgence. This Peruvian Lucuma Mousse is not only incredibly easy to make but also delivers a delightful explosion of taste and texture in every spoonful.
The Magic of Lucuma:
Lucuma, also known as lucuma or monkey fruit, is a native fruit of the Andes Mountains in Peru. Its vibrant yellow flesh boasts a naturally sweet and slightly nutty flavour with hints of caramel and maple. Beyond its delicious taste, lucuma is gaining popularity for its potential health benefits, being a good source of fibre, antioxidants, and beta-carotene.
Effortlessly Elegant:
The beauty of this Lucuma Mousse lies in its simplicity. With just a handful of ingredients and minimal prep time, you can whip up an impressive dessert perfect for any occasion. Whether you’re looking to impress dinner guests, satisfy a sudden sweet tooth, or create a delightful homemade treat, this recipe delivers.
Peruvian Lucuma Mousse: Frequently Asked Questions
This FAQ section addresses some common questions you might have about the Peruvian Lucuma Mousse recipe:
Lucuma is a Peruvian fruit with a vibrant yellow flesh and a unique flavour profile. It tastes slightly nutty and sweet, with hints of maple and butterscotch.
Finding fresh lucuma can be challenging outside of Peru. Look for frozen lucuma pulp in the frozen fruit section of specialty stores or online retailers. Lucuma powder is a more readily available option, typically found in the baking aisle of health food stores or online.
While there’s no perfect substitute for lucuma’s unique flavour, you can use mango puree or a combination of mashed banana and pineapple for a similar sweetness and texture.
Yes! Replace the heavy cream with full-fat coconut cream and use a vegan gelatin alternative. Ensure the coconut cream is chilled before whipping for optimal results.
Start with the recommended ½ cup of condensed milk. After the mousse sets, taste it and adjust the sweetness to your preference. You can add a little more condensed milk at this point if desired.
Make sure the gelatin is completely dissolved before adding it to the mixture. Insufficient gelatin can lead to a runny mousse. Additionally, ensure the mousse chills for at least 2 hours, or until completely set.
If your lucuma pulp is very thick, you can add a splash of milk or water to thin it slightly before blending it with the condensed milk.
Absolutely! Explore different flavours. Try graham crackers, shortbread cookies, or even chocolate chip cookies for a delightful variation.
The Lucuma Mousse can be stored in an airtight container in the refrigerator for up to 3 days.
Yes, you can easily double the recipe to create a larger batch. Just make sure to use a proportionally larger mixing bowl and increase the amount of gelatin accordingly.
A blender or food processor is ideal for creating a smooth lucuma base. An electric mixer with a whisk attachment will help whip the cream to soft peaks. However, you can also whisk the cream by hand, though it will take a bit longer.
Indulge in Creamy Peruvian Bliss: A Quick and Easy Lucuma Mousse Recipe
The beauty of this Lucuma Mousse lies in its simplicity. With just a handful of ingredients and minimal prep time, you can whip up an impressive dessert perfect for any occasion. Whether you’re looking to impress dinner guests, satisfy a sudden sweet tooth, or create a delightful homemade treat, this recipe delivers.
- Prep Time: 10 minutes
- Cook Time: 5 minutes
- Total Time: 15 minutes
- Yield: 4-6 servings
Ingredients
-
For the Lucuma Mousse:
- 1 ½ cups thawed lucuma pulp (fresh or frozen)
- ½ cup condensed milk
- 5 sheets gelatin
- 600 ml (20 fl oz) heavy cream
-
For the Cookie Base:
- 350 grams (12 oz) chocolate cookies
-
For Decoration (optional):
- Chocolate shavings
Instructions
- Prep the Lucuma: If your lucuma pulp is frozen, begin by thawing it. Fresh lucuma pulp can be used directly. While the lucuma softens, soak the gelatin sheets in a bowl of cold water for about 5 minutes or until softened.
-
Create the Lucuma Base: Combine the thawed lucuma pulp and condensed milk in a blender or food processor. Blend until smooth and creamy. Set this mixture aside for later.
-
Whip Up the Chantilly Cream: In a separate bowl, using an electric mixer or stand mixer with a whisk attachment, whip the heavy cream on medium speed until it reaches soft peaks. This is often referred to as “chantilly” cream in Peru.
-
Combining the Stars: Gently fold the lucuma mixture into the whipped cream using a spatula. Be careful not to overmix; you want to maintain a light and airy texture.
-
Melding the Gelatin: In a small saucepan over medium heat, melt the softened gelatin sheets. Make sure the gelatin is completely dissolved, but do not let it boil.
-
The Final Touches: Slowly whisk the melted gelatin into the lucuma and cream mixture. Ensure it’s well incorporated throughout.
-
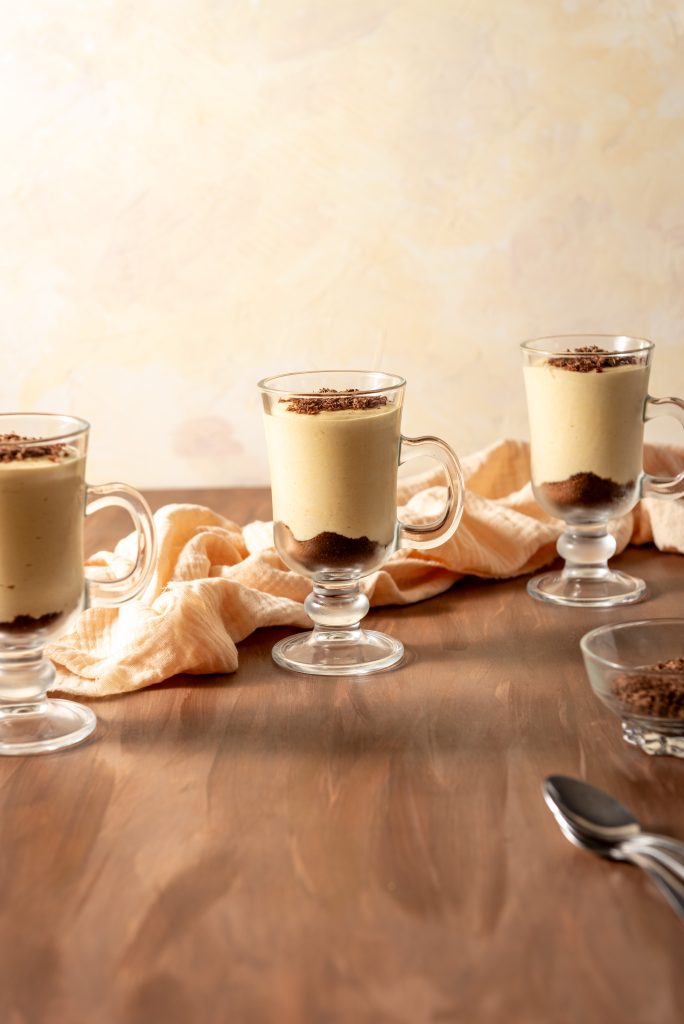
Prepare Your Serving Vessels: Prepare your serving cups or glasses while the mousse sets. Crush the chocolate cookies into a fine crumble. Press a layer of cookie crumbs into the bottom of each serving cup.
-
Assembly Time! Pour the prepared Lucuma Mousse mixture evenly into the serving cups, filling them to the desired level. Refrigerate the mousse for at least 2 hours, or until it’s completely set.
-
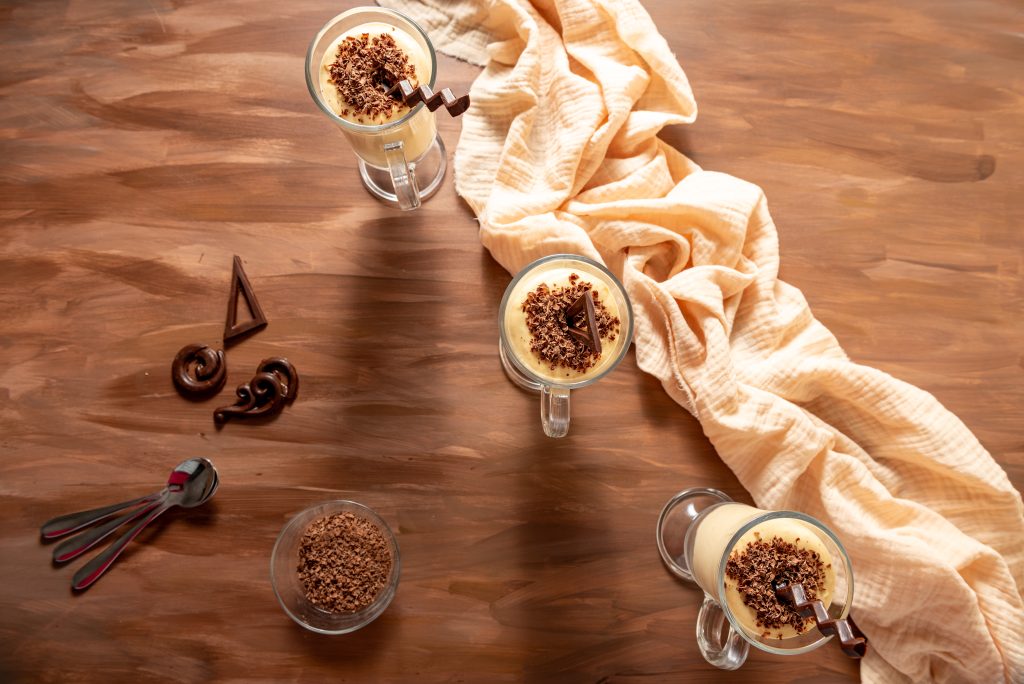
Decoration Delight (Optional): Once the mousse is set, unleash your creativity! Garnish each serving with a sprinkle of chocolate shavings, a sprig of fresh mint, or even a drizzle of melted chocolate for an extra touch of elegance.
Hi! I’m Valeria (aka Val) the photographer and recipe developer behind Canguro Criollo. My passion for food began when I was little at my home when everything will revolve around food and now I discover this new creative outlet of food photography. I wish you can follow my journey discovering unique ways of preparing Peruvian food abroad and some other family-friendly foods.

