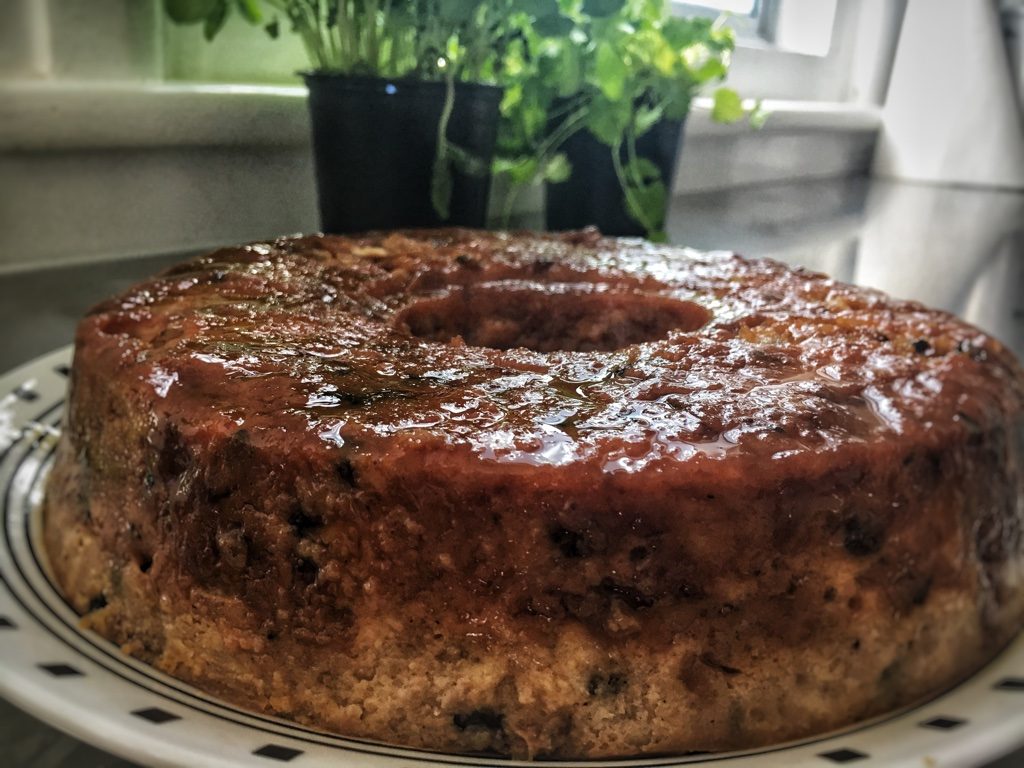
We love to do this tart when we want something delicate and sweet. Perfect when you have already a very strong flavour dinner and you want something more simple but delicious.
Ingredients:
Tart base:
2 1/2 cups flour
4 tablespoon sugar
1 teaspoon salt
1 cup cold unsalted butter
4 tablespoon water
2 egg yolks
Creme Patisserie
375 ml milk
1 1/2 teaspoon vanilla
6 eggs yolks
4 tablespoon caster sugar
1 1/2 tablespoon cornflour
1 1/2 tablespoon flour
Pears:
6 pears
1/2 cup sugar
water
Preparation:
- In a food processor mix the flour, sugar and salt. While mixing add the butter cut into cubes. The mixture will turn like coarse sand. Reserve it. In a bowl mix the water and egg yolks. Add this mixture with the processor running until it became a ball, sometimes you will need a little less water. Put the mix in a bag a let it rest in the refrigerator for 30 minutes before using. You can do it overnight.
- Preheat the oven at 180ºC. Roll the dough until it has 0.5cm thick and put it into a tart mould. You can freeze the remaining for another tart. Pinch the tart with a fork and set a parchment paper over with some weight (ceramic beads, rice, beans, etc) and cook it for 20 minutes and discard the weight and parchment paper and cook for another 15 minutes or until is golden. Let it cool.
- Meanwhile, you can start with the creme patisserie because we need that all the parts are cold to assembly.
- In a bowl mix together all the ingredients with a hand beater. Pour the mixture into a pot a cook it a medium heat stirring all the way until it thickens. Pour the mixture into a bowl to let it cool. Put a film over the mixture to prevent a crust to make. Reserve.
- Peel the pears and cut in four pieces to discard the stem and seeds. Put the pieces in a pot with the sugar and water to cover them. Let it boil in medium heat until they are tender. Discard the water and let it cool down. When they are cold slice them thinly and reserve.
- To assembly just spread the cream patisserie over the tart base. Decorate with the pear slices and refrigerate until you serve it. Enjoy it!
Hi! I’m Valeria (aka Val) the photographer and recipe developer behind Canguro Criollo. My passion for food began when I was little at my home when everything will revolve around food and now I discover this new creative outlet of food photography. I wish you can follow my journey discovering unique ways of preparing Peruvian food abroad and some other family-friendly foods.


